

Hello Everyone! Surprisingly enough there is more to your rice then just eating it. who would have guessed right!?!?! Heres a fun fact, rice water actually has been used by Asian’s for years to give their skin that gorgeous healthy glow!(I know we all have been wondering how they do it 😛 ) So today Im gonna give you a short and easy tutorial on how to turn your rice water into the best toner for your skin 😀 ! This is a great alternative if you are tired of spending so much money on chemically based toners or just don’t like spending money,can’t afford to or wanna use only organic.
I personally eat rice at least once a week, it was great to learn that rice is even more beneficial to me then I already thought. Im always hunting for new and healthier alternatives for my skin then using store bought products that always tend to dehydrate my skin or have no effect at all. This toner really invigorates the skin and leaves you feeling totally refreshed and not like you skin is so dry that its gonna fall right off your face haha!
After I tested out this home made and organic product, I decided it was well worthy to be shared with my viewers. I think we all deserve beautiful, natural and healthier looking skin without all those nasty, gross chemicals that leave you face smelling a little weird and feeling yukky ! >.< blahh!
Have I gotten you guys pumped yet for this yet?!
This tutorial will provide pictures to follow step by step. ( I plan to get into video blogging once I have enough viewers 😛 and Im slightly camera shy :'( )
~~~~~~~~~~~~~~~~~~~~~~~~~~~~~~~~~~~~~~~~~~~~~~~~~~~~~~~~~~~~~~~~~
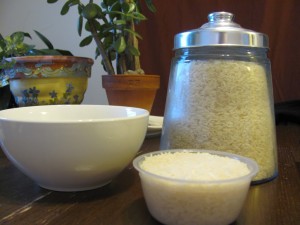
Here is a list of what you’ll need:
- One cup of rice ( preferably Jasmine rice or any rice really, try using organic, less likely to be high in pesticides and other chemicals )
- A small bowl
- Water
- Measuring cup
- Utensil for stirring
- Small container ( I used and old pill jar )
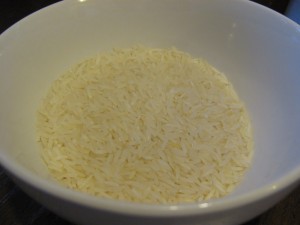
Pour the One cup of rice into the bowl.
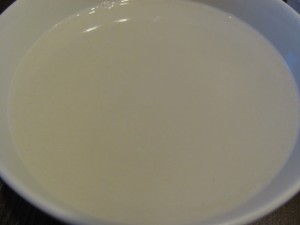
Fill the bowl with water to about 1 inch above the rice.

Take a fork (or whatever) and stir the rice until the water becomes cloudy.
Pour the water into a measuring cup ( do not include the rice in the measuring cup! )
Pour water from the measuring cup into your desired container for storage & usage
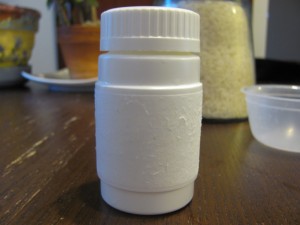
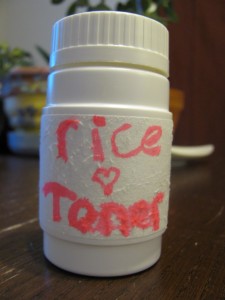
And your done!!!! 😀 That was easy and quick. Now all you have to do is label your container and remember to cook your rice 😛 haha you don’t wanna forget about that 😉
To use all you need to do like any other toner is put some on a cotton pad or tissue and dab it onto your face. You can also use this mixture as a mask. Take a paper towel and soak it into the water, ring out and gently lay over your face. If desired you can cut out holes for eyes, nose and mouth 🙂
A few things to remember. Make sure to store your newly made toner in a normal place as you would your other facial produces. NO fridge or warm places, room temperature is always best 🙂 Shake well before using. Minerals in the water will settle after a while, so make sure to shake before using. This toner will not go bad for quite some time so don’t panic! It’ll take a few months before that happens and by that time you’ll already have made a second batch 😉 thats how good it is!
I hope you all enjoy the product!
Brony<3


No Comments