
Hey loves! So I know all us bloggers that love to take self portraits desire a lovely flattering ring light but since we are bloggers, it is easy to know we all are mostly poor and don’t have the money to just go and drop $300 on a ring light 😛 That price is a little ridiculous for a circular light bulb haha!
I looked around the Internet inconsistently for a good year trying to find cheap and affordable ring lights or even alternatives but could never seem to find any good ones. Until the clever light bulb hit me and I realized there has to be a way I can make my own! So I did more and more research but once again could only find those stupid little ones you can put on your camera lens. But I wanted more then just the ring effect in my eye. I wanted something that would actually provide the lighting I needed! Especially since I have a room with poor natural daylight and bad lights. I also have red walls which makes everything worse and my camera isn’t the greatest for portraits because the lens is bubbled…… So I wanted a light that could help make my photos all around more flattering. I needed a big ring light. Not some cheap little homemade toy one. I needed the real deal without the crazy price of $300!
After a while of researching I found some promising tips, the ideas were good but the concept was to intricate. Requiring wood work and such was too much for a girl like me 😛
Then I found some super cheap ideas! Make your own ring light with wreath wire and christmas lights! PERFECT! The only item I didn’t have was wreath wire which is super cheap at craft stores! All I needed to do was go spend a couple dollars on wreath wire and that was it! I already owned plenty of christmas lights!
So I went home and told my dad what I was going to do and of course he had to make it a little more difficult then it should have been. He didn’t want me to spend any of my money at all so he brought out a copper tube, we bent it into a circle and welded it together. I then went on to wrap the christmas lights around and around!
I will give you a quick guide on how to make yours!

- Copper tubing OR wreath wire
- 2 strands of white outdoor LED lights
- 1 strand of plain outdoor christmas lights

 For copper tube, have a proper bending tool like that weird spring coil thing, or just be tough and use your own hands to bend it. It is super malleable so bending it with your hands is quite easy. You will also need a soldering tool so attache the two ends of your homemade circle together OR be extra cheap and duck tape it together! 😀 And that is it! My dad of course had to make my little project more fun and manly so he made us solder it together hahahah.
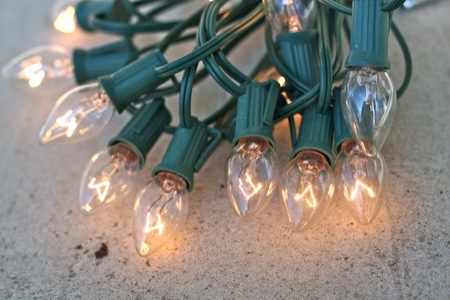 Now your ready to add your lights! Start wrapping your lights around and around and around, making sure every light bulb is facing in the same direction so your lights are always facing you or your subject! This part will take you a while but it is well worth it. Keep wrapping until you all your lights are well spaced. Make sure your have a little room in between the light bulbs so you can add your regular bulbs after your LED rounds.
Although I will buy a tripod soon because I more or less need one for my camera and such. If you are building this ring light you probably already own one or like me, am planning on getting one.
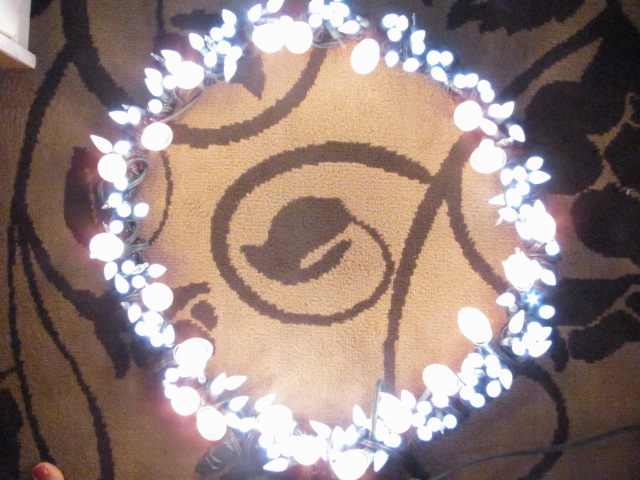
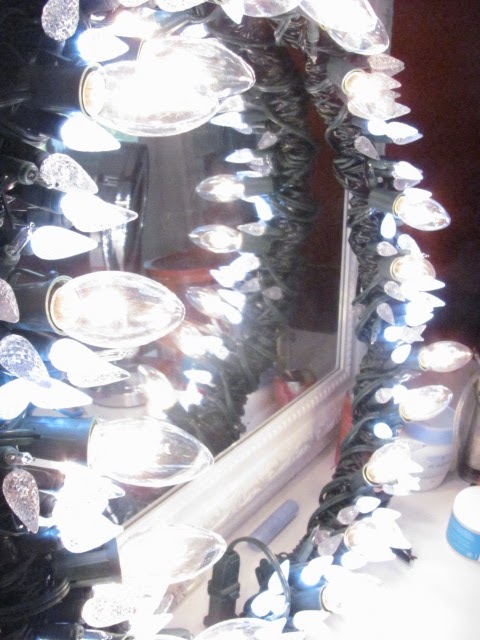
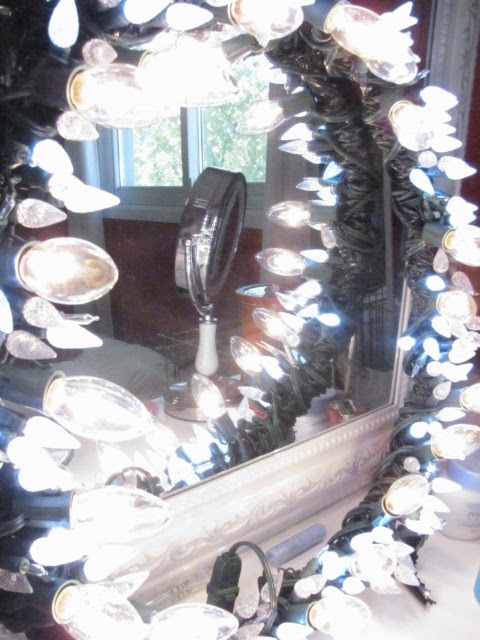
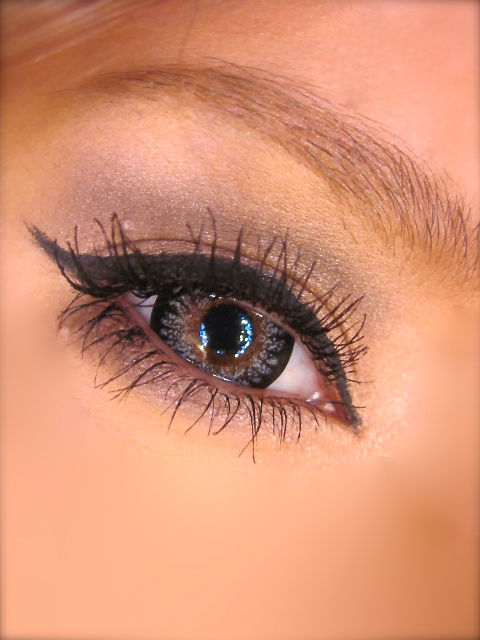
As you can see all the light bulbs are facing in the same direction towards the subject. Since I used copper tubing I also used 2 strands of LED and one of Regular lights. This give a heavier weight since I used an extra strand plus the copper instead of wire. Since my bedroom is dark red I still find if it isn’t a well lit day my photos do come out with a warm dulled down tone but the lighting is better when it is a sunny day and not dark and rainy! 🙂 The lighting it 20x better then just relying on sun and crappy window like mixed with horrible red walls 🙂 I plan to cover my red walls soon with wall paper hopefully but for now I only have one accent wall with wallpaper 🙂 When I am in front of my accent wall I immediately get better light Thanks to now dark red wall hahaha!
I hope this tutorial was helpful to anyone of you out there who wants a ring light but can’t afford the crazy prices! 😀
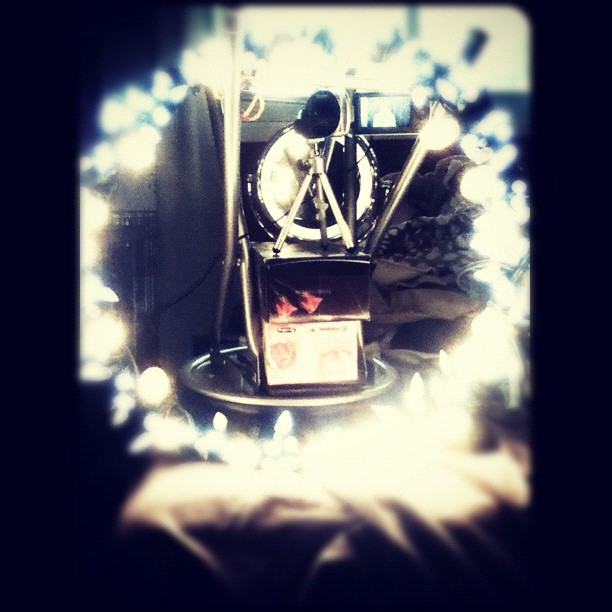
Here is my cheap filming and photo taking set up since I don’t have a tripod yet hahaha! Ring light supported on my bed with an upside down stool with my vanity mirror in the background so I can see what I am filming. My camera is also supported on tissue boxes because I only own a mini tripod hahaha! So cheap 😛 But hey! It works! A little bit of a hassel without the tripod but still very creative 🙂


No Comments