

Contour and highlight is a must for almost every photo shoot look. No matter the intensity, there is almost always contouring and highlighting happening on the models face. There are many different variations of this makeup look, but today I decided to show you all the classic full coverage contouring and highlighting routine.
This is an all natural look using only different shades of foundation and concealer to match the models skin tone while complimenting the natural features of the face.
Looking 100% natural as if you aren’t wearing any makeup at all.
Remember this look is full coverage! Here is the video tutorial on how I got this look 🙂
Comment down bellow to request a light weight contour and highlight tutorial.
PRODUCTS USED
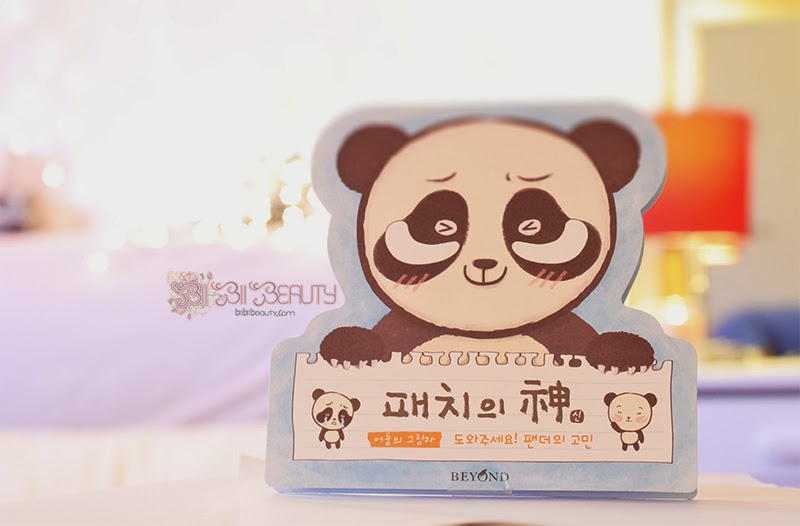
- – Beyond bye-bye panda eyes mask from imomoko.com use my discount code BBFORYOU and get 10% off you entire purchase!
- – Elizabeth Arden Nourishing Lip Balm
- – Elizabeth Arden Flawless Finish Sponge Cream Foundation in Beige 40
- – BH Cosmetics 6 Color Contour Palette
- – Calvin Klein Infinite Cream Foundation in SunTan
- – Lise Watier Portfolio Corrector wheel in Beige’s
- – Elizabeth Arden Beautiful Color Moisturizing Lipstick in Golden Nude 15
GEO Nudy Quarter Series in Brown from eyecandys.com use my code BIIBII and get a surprise gift with your purchase!

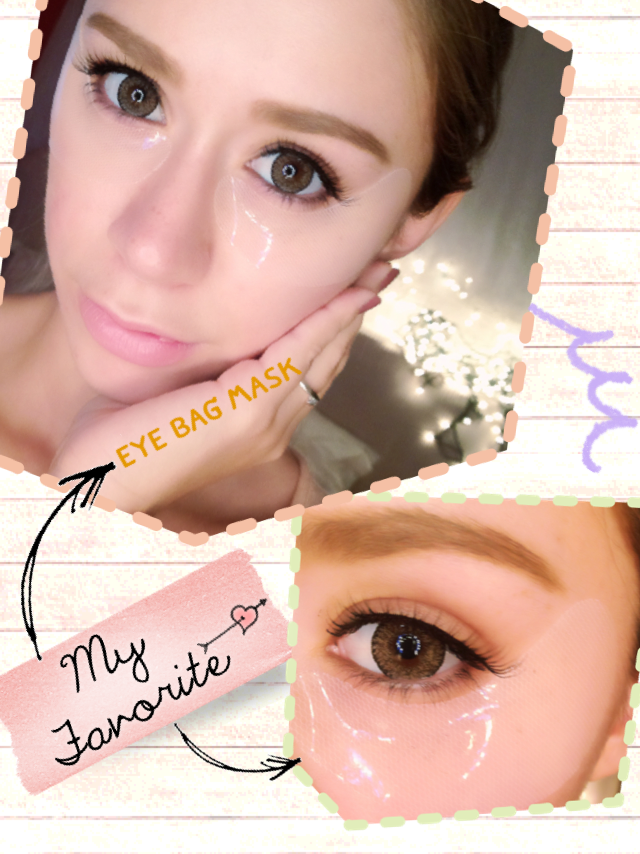
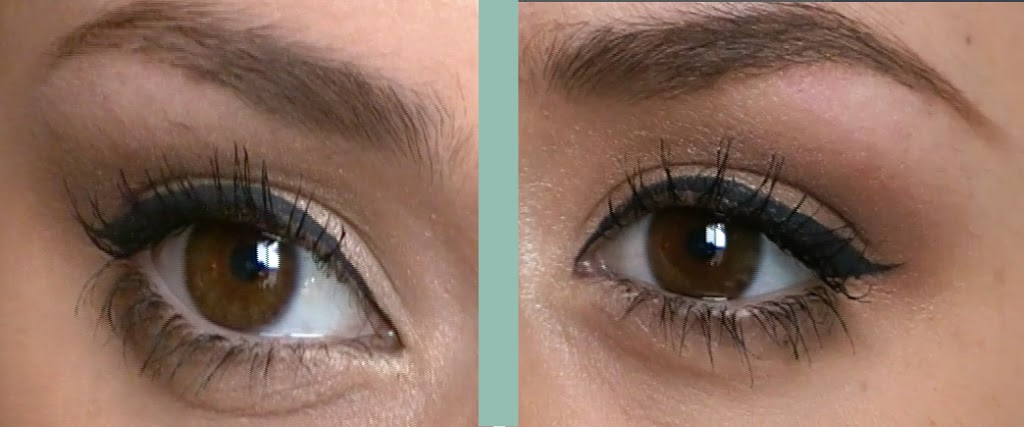
This mask worked wonders on my under eyes area to be smooth, firm and bright. Along with under the eyes, I also used this product on my smile area to help firm and brighten so I would get less makeup creasing. And boy did it work! It allowed my skin to have the perfect makeup application with no creasing and a boost in illumination helping me to create the perfect contour and highlight look.
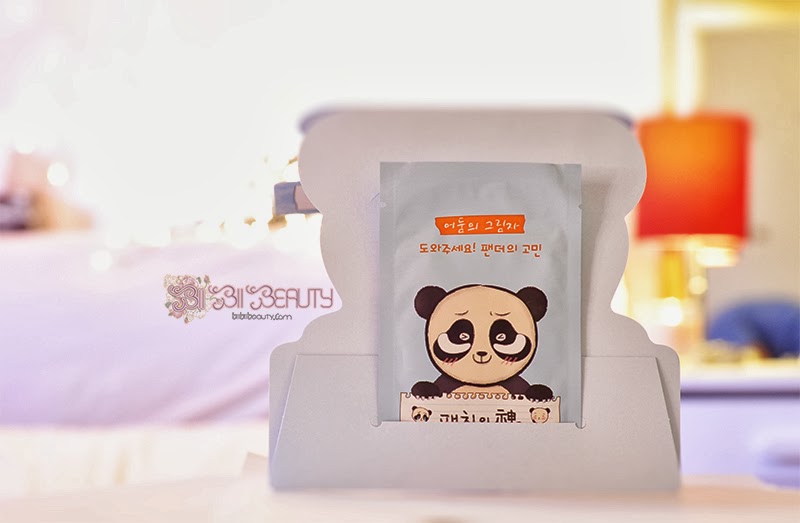
I got this amazing Beyond bye-bye panda eyes mask from imomoko.com !! Use my discount code BBFORYOU and get 10% off you entire purchase!
I hope you guys enjoyed the tutorial video! Sorry I am a little behind on blogging and videos. I have been doing certificate courses and my time between courses, graphic designing, working and blogging is really time consuming. But I am trying my best!
Thanks for checking in! xoxo


No Comments